DIY Cloud Backup: Installing and configuring a client
quindor
Published: 31 Aug 2017 › Updated: 31 Aug 2017
DIY Cloud Backup: Installing and configuring a client
In the previous article I showed you how to install and configure the server and storage. So now that we have a storage target running for a tenant, let’s install the Duplicati 2 client software and configure a backup!
Downloading the software
For demonstration purposes I’m going to use a Windows 10 Pro client but Duplicati 2 is available for Windows, Linux and Mac. If people are interested I could do a Linux tutorial also.
To download, we need to go to the following page:
<pre class="EnlighterJSRAW" data-enlighter-language="null">https://www.duplicati.com/downloadThere we select to download the (beta) 2.0 client.
Installing Duplicati 2
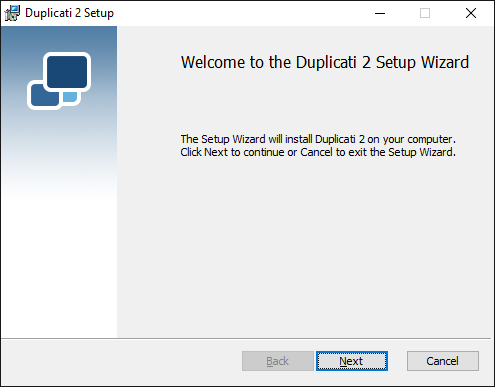
Once downloading is done, execute the downloaded MSI file. You’ll be greeted with an Install Wizard.
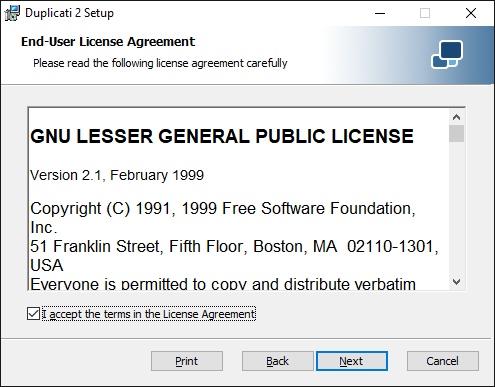
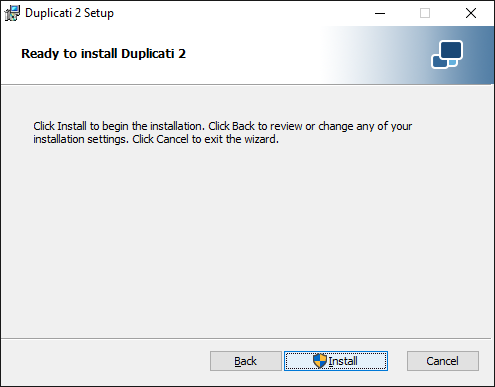
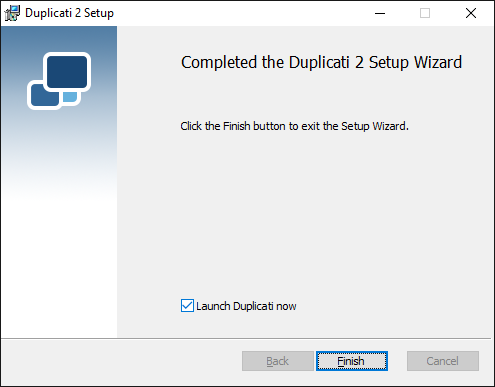
Click next to continueIt’s open-source software so no harmful terms insideThe software is only 38MB, so installing it to the default C drive location is often bestA Windows wizard will pop-up asking you if making system changes is allowed. Since we know what we are installing, click yes.All done, wizard finish, click finish and the Duplicati 2 interface should open automatically in your favorite browser!Configuring Duplicati 2
One started, the configuration interface opens in your favorite web browser. Don’t worry, by default you can only access it locally, so there is no security risk of anyone else on the network re-configuring your back. You can however make it remotely manageable if you so desire!
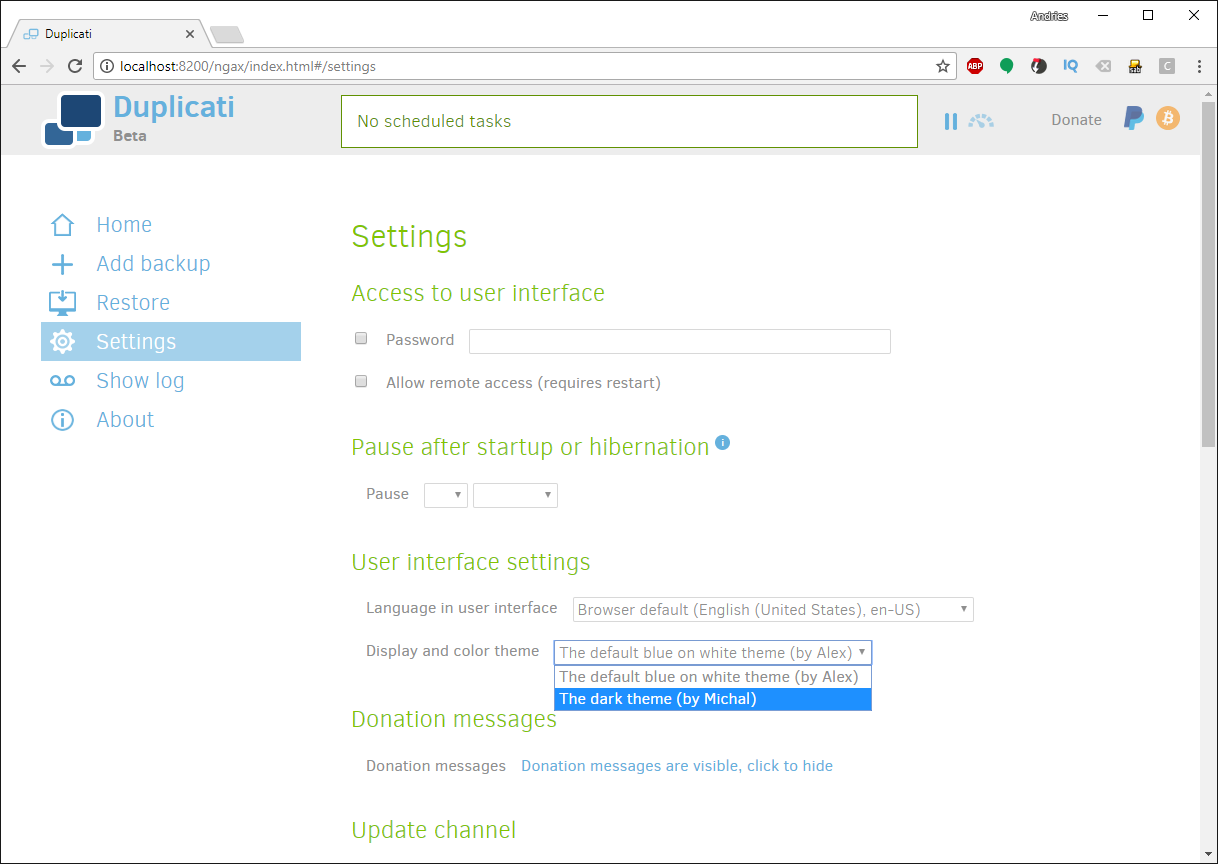
The default interface##
Selecting darker theme
The first thing I always do is change the interface from this white-blue color to a darker theme. Click on settings and select the following:
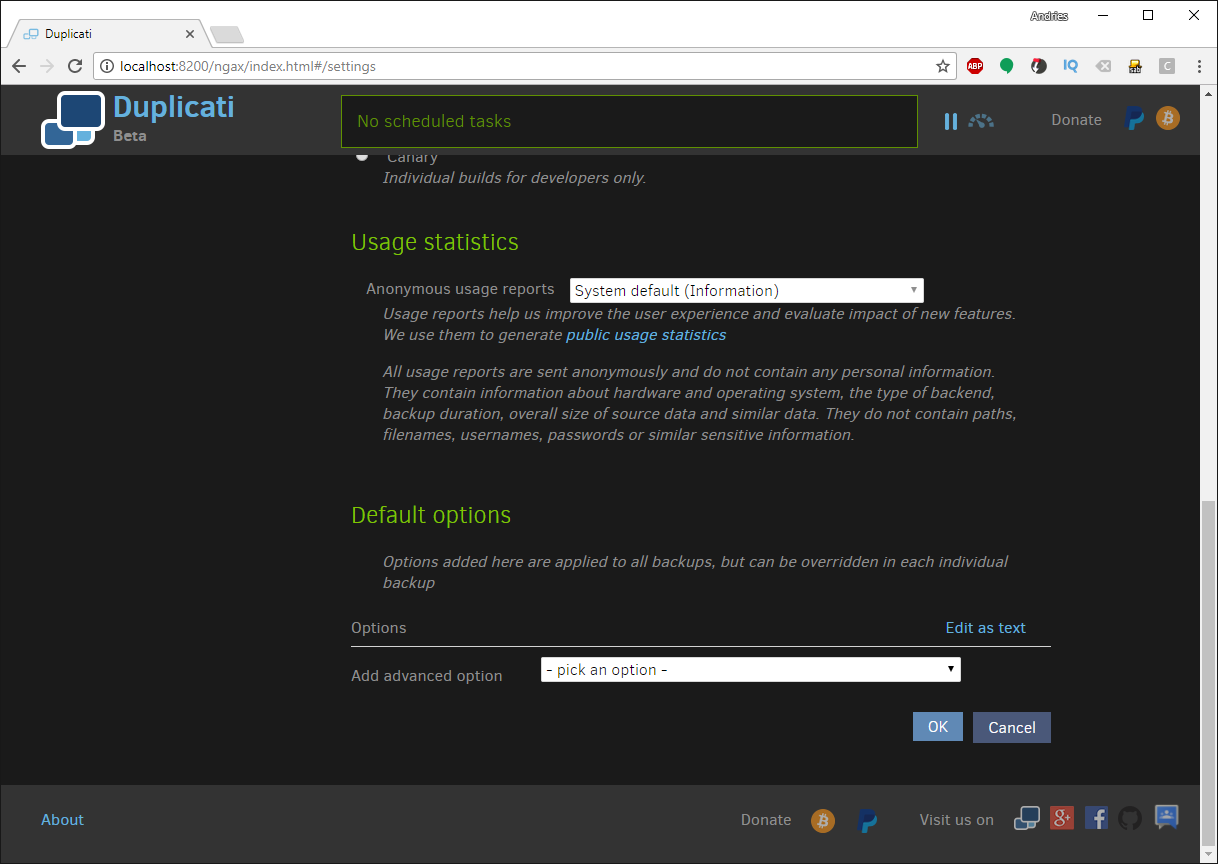
Select the second, darker themeMake sure to hit “OK” when done!##
Configuring a backup job towards our Minio S3 storage
I will be using the “seconduser” we made at the end of the last tutorial for this demonstration installation.
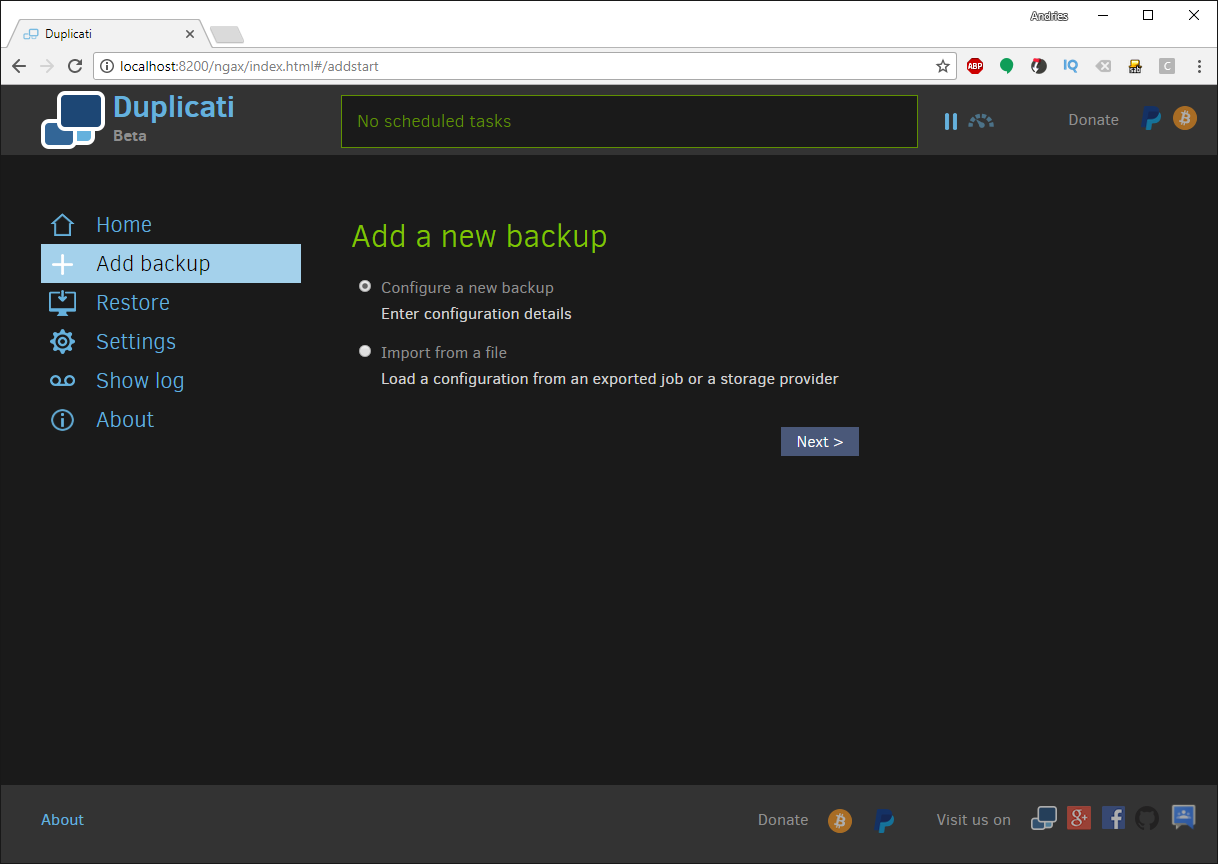
Click the “Add backup” button in the left bar
First question dialog of the configuration wizard.We want to “Configure a new backup”, leave it selected and click “next >”.
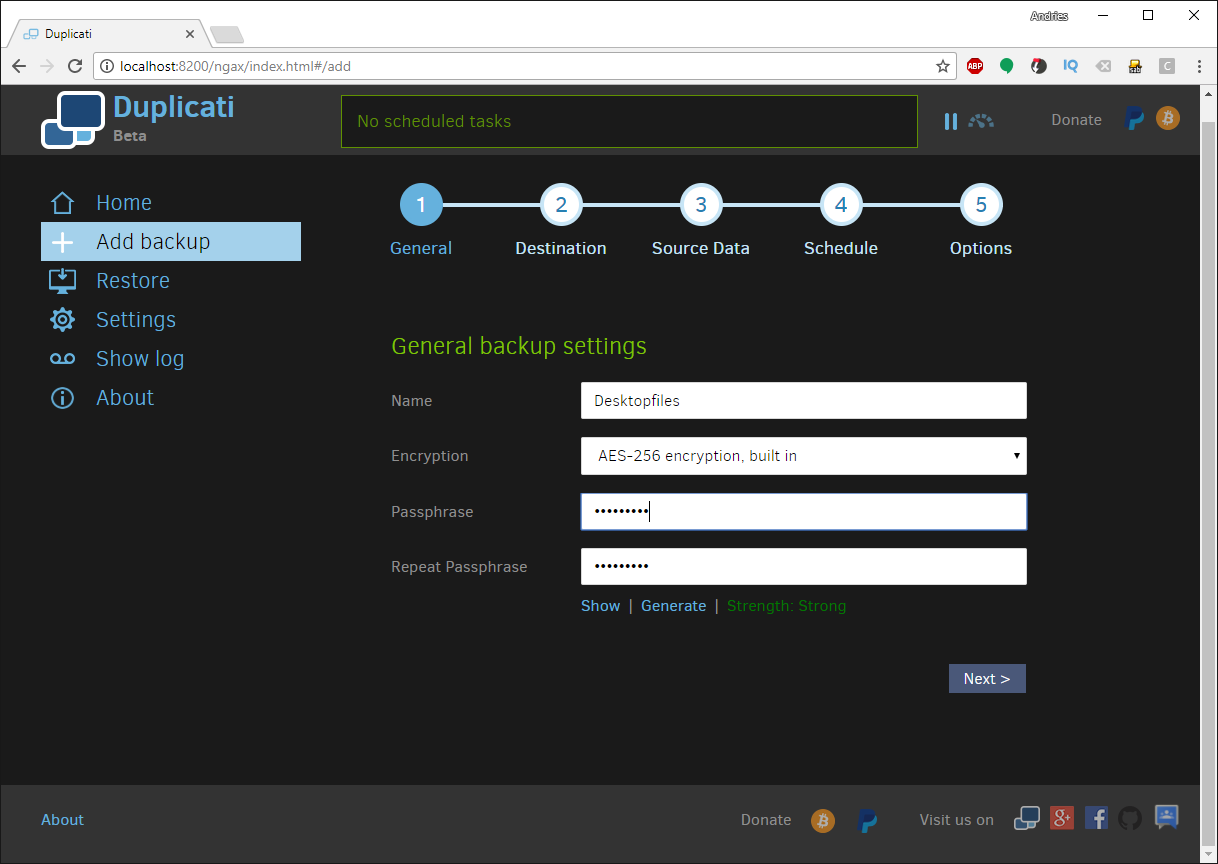
Enter a name for the backup. You can choose to backup all your of this host/client in one backup job, or maybe create several. With larger data sets creating several smaller jobs is advised.
Leave the AES-256 Encryption selected, it’s how we secure the backup so that only the person with the passphrase can open it later on.
Once done, click “next >”.
Configuring the connection to the Minio S3 storage backend
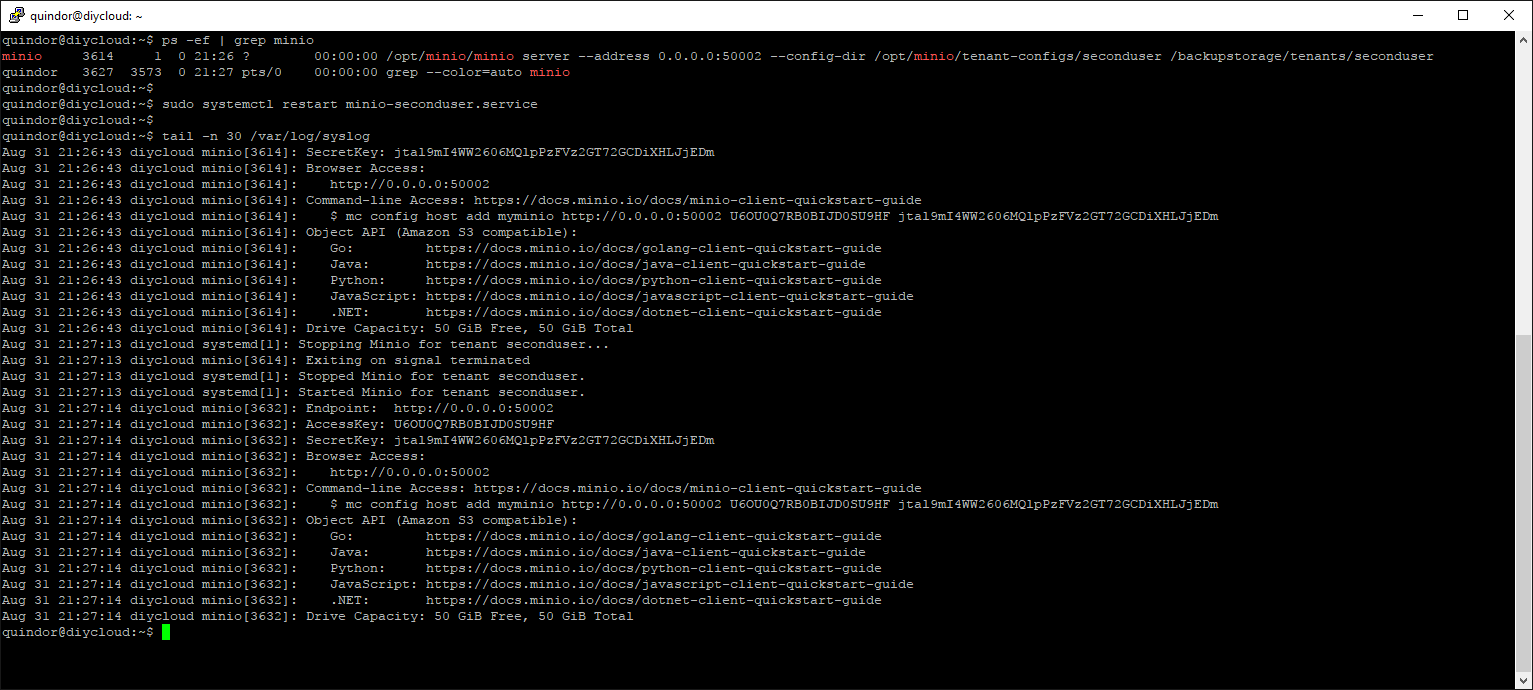
ps -ef | grep minio
sudo systemctl restart minio-seconduser.service
tail -n 30 /var/log/syslog
```This should give you the following output:
With this we have all the details we need to know to get the tenant up and running, Port, Access ID and key. All three values are unique per tenant, but shared between the clients of one tenant.
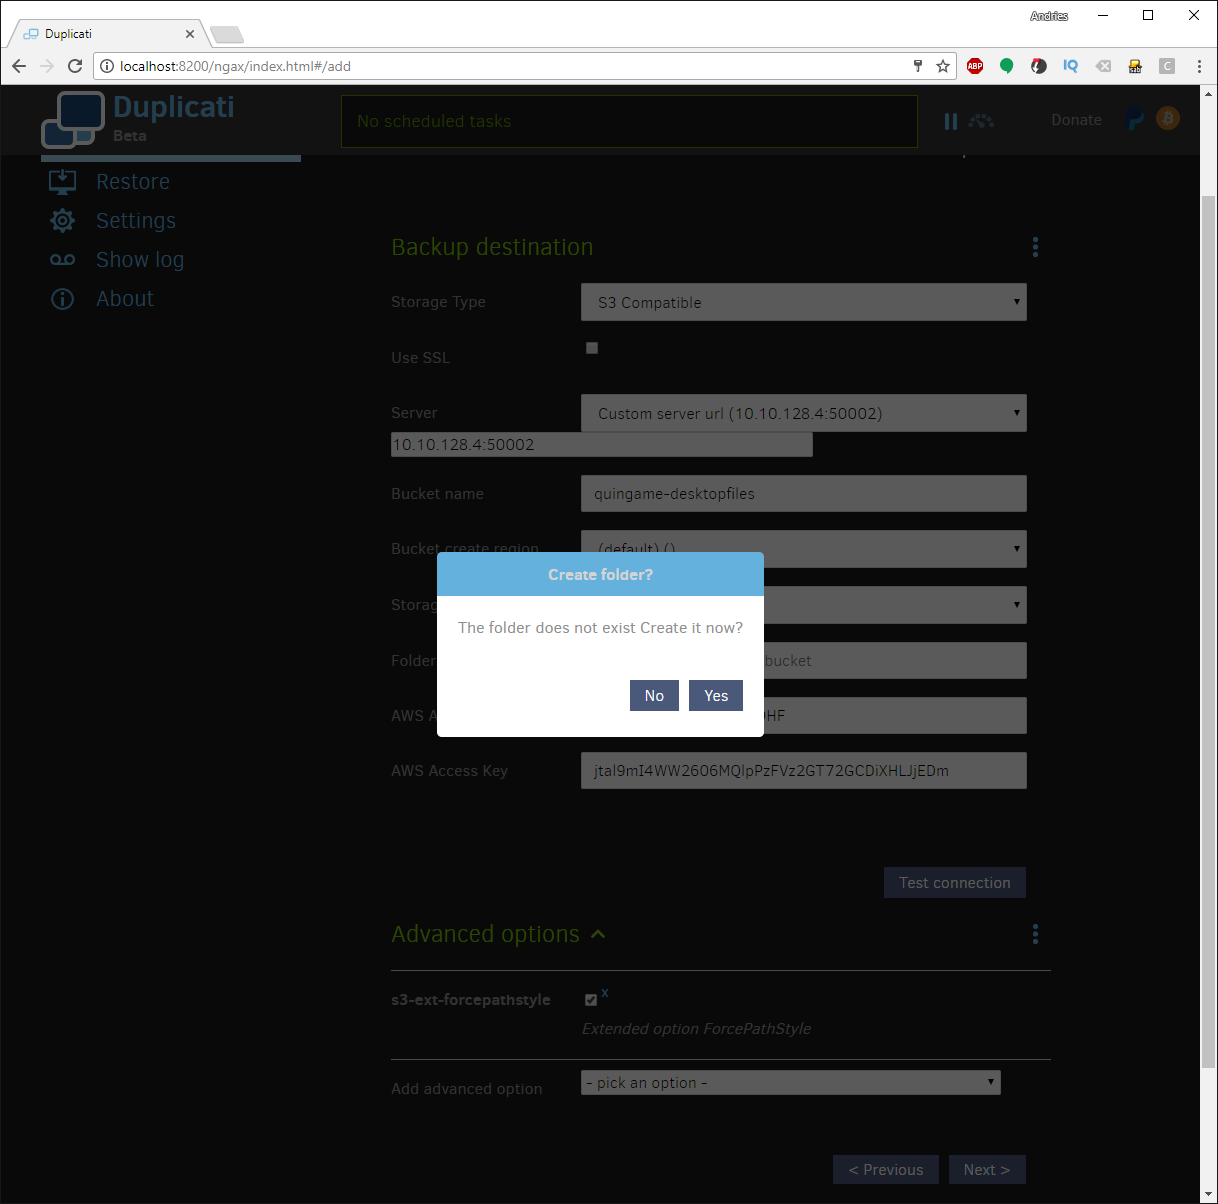
If you have it all configured (don’t forget to set the advanced option!) , click the “test connection” button.
A wild popup appears!I normaly choose “No” because I don’t want a string in front of my bucket names. Nothing is going to brake if you choose yes though, but I recommend No.
Since we are configuring a new client/backup the bucket does not yet exist on the Minio S3 backend server. You can either pre-create it or just select “Yes” here.
It worked!Ok, the hard part is over! Click ok and click “Next >” to continue.
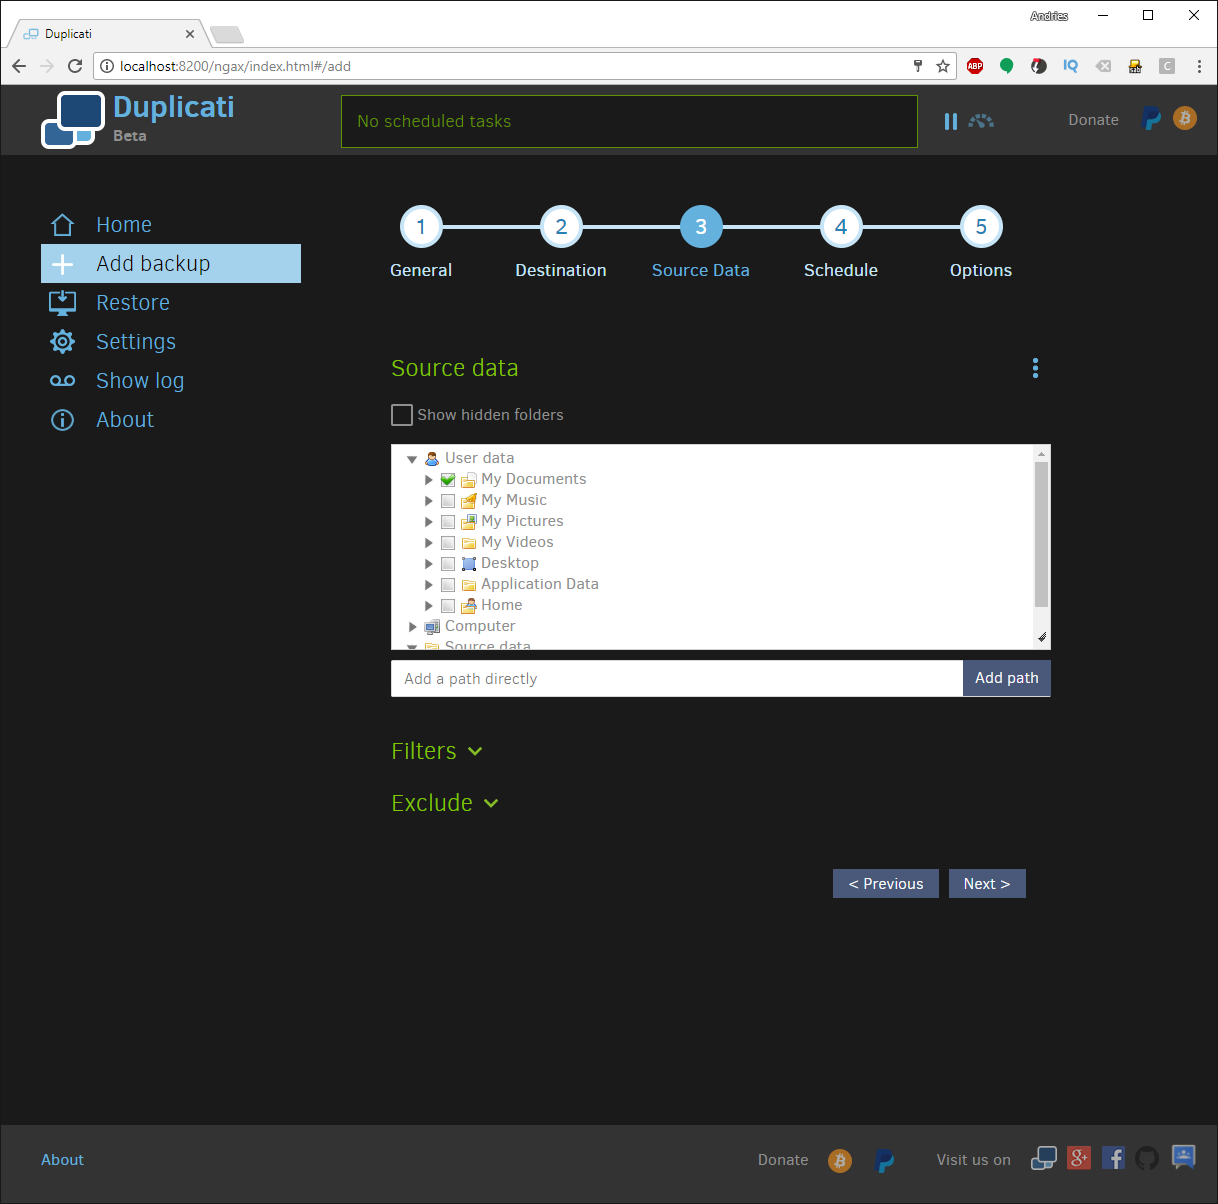
Selecting the data you want to backup
Select the data you want to backup from this client or in this backup job.
If you want to exclude certain files or filer a certain type of files out of the backup, you can alter the selection using the Filters and Exclude selections. When done, click “Next >”.
Setting the backup schedule
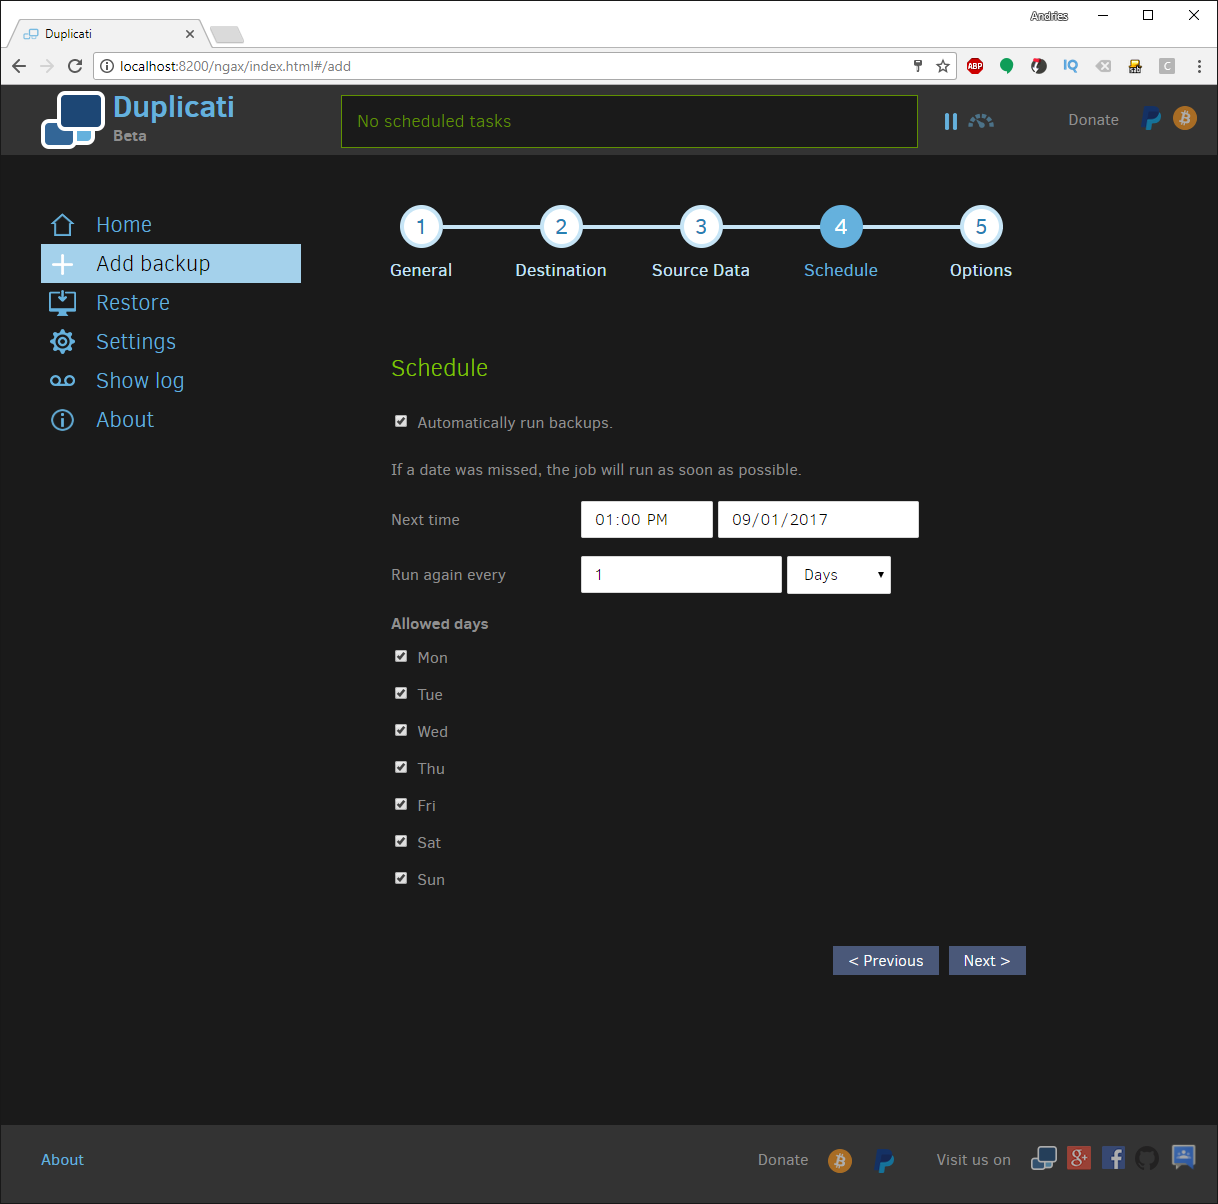
Here you can determine how often the back should run. Because after the first backup all further backups happen in seconds, I like to run them more often then the default schedule.
<pre class="EnlighterJSRAW" data-enlighter-language="null">Run again every 1 days --> 2 hoursAll the other fields I leave alone because they are fine for my needs. Click “next >” to continue.
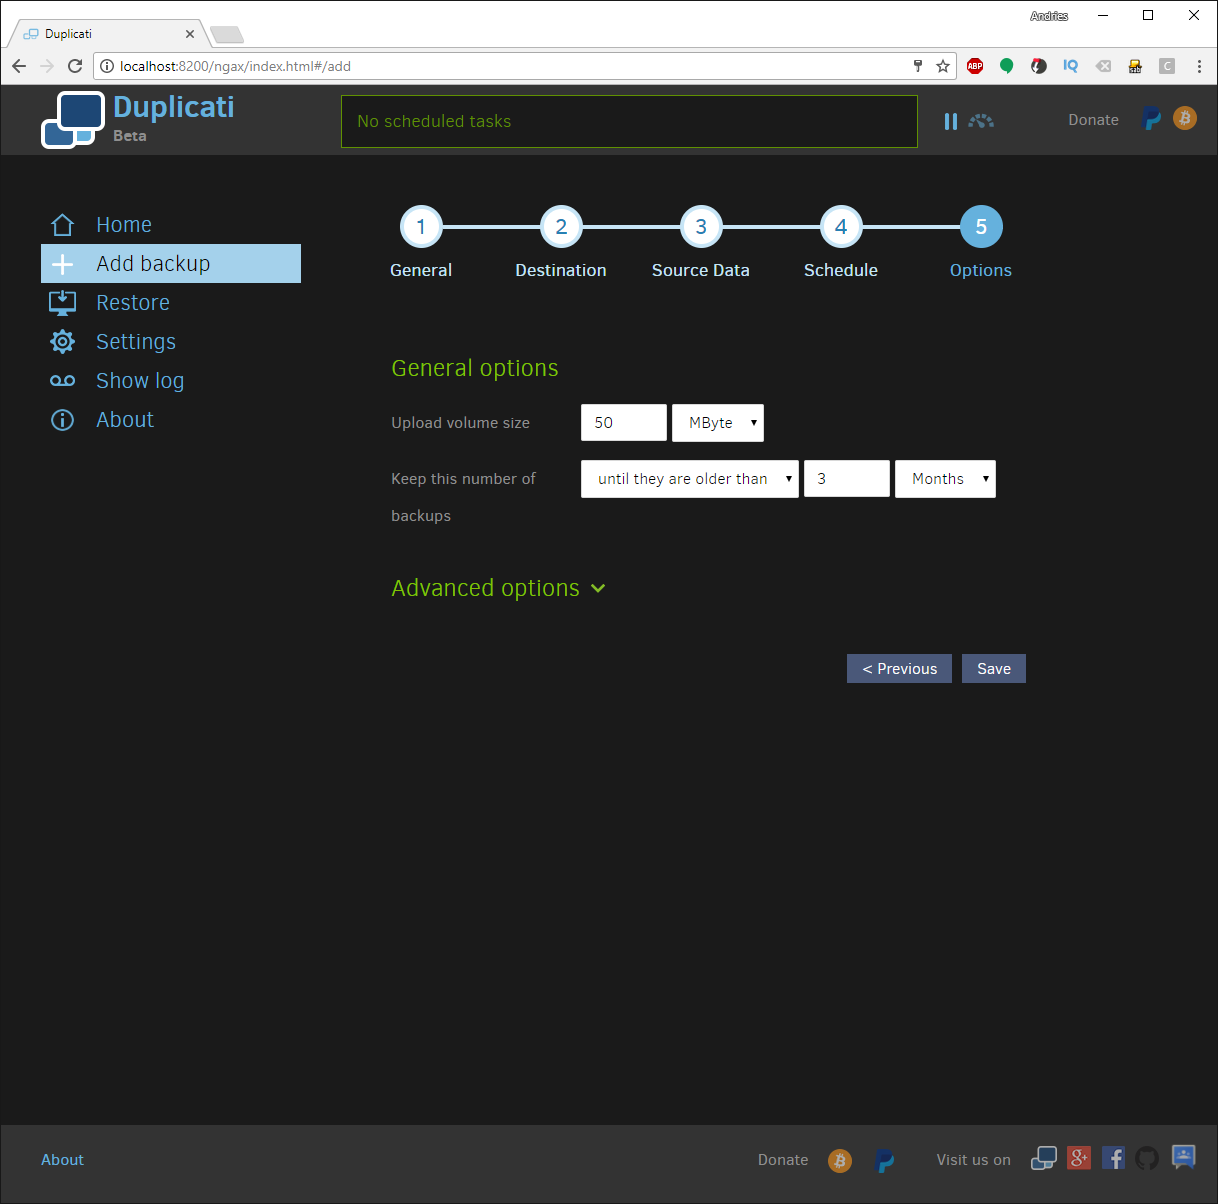
General options
Here we can change the archive size (mostly just leave alone) and how long you want to keep backups. By default it’s set to keep all backup copies until they reach 3 months old. I’m fine with that generally.
If you have a lot of open files or files like .PST files you can set an “Advanced option” called
<preclass="EnlighterJSRAW"data-enlighter-language="null">AdvanedOptionssnapshot-policyAuto,on,off,required```IfyousetthistorequiredaVSSsnapshotwillbemadebeforestartingthebackup,allowingyoutobackupopenfiles.Click“Save”tocontinue.Runningabackup================Thedefaultschedulesetsthefirstbackuptoruntomorrow.[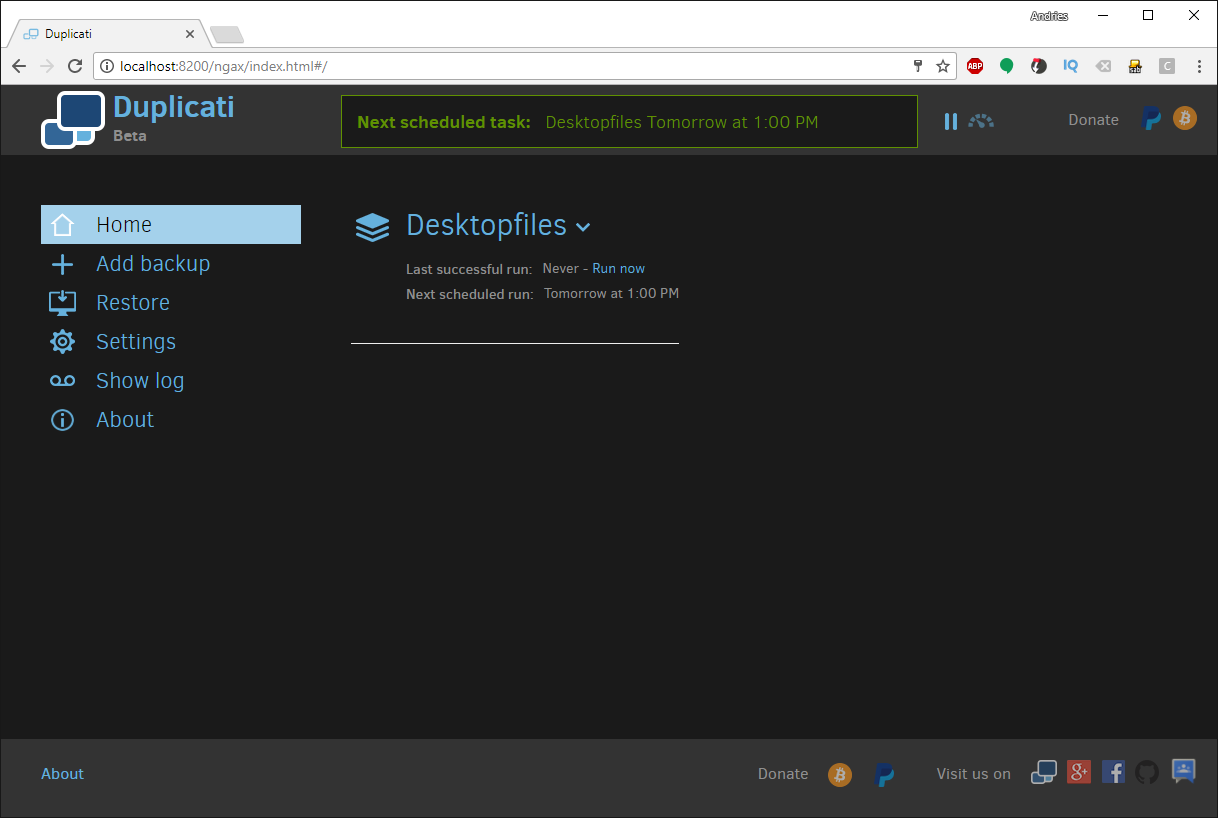](http://blog.quindorian.org/wp-content/uploads/2017/08/19-1.png)Torunabackupimmediatly,clickthelittletextthatsays“runnow”.Let’sclickittoseeifitallworks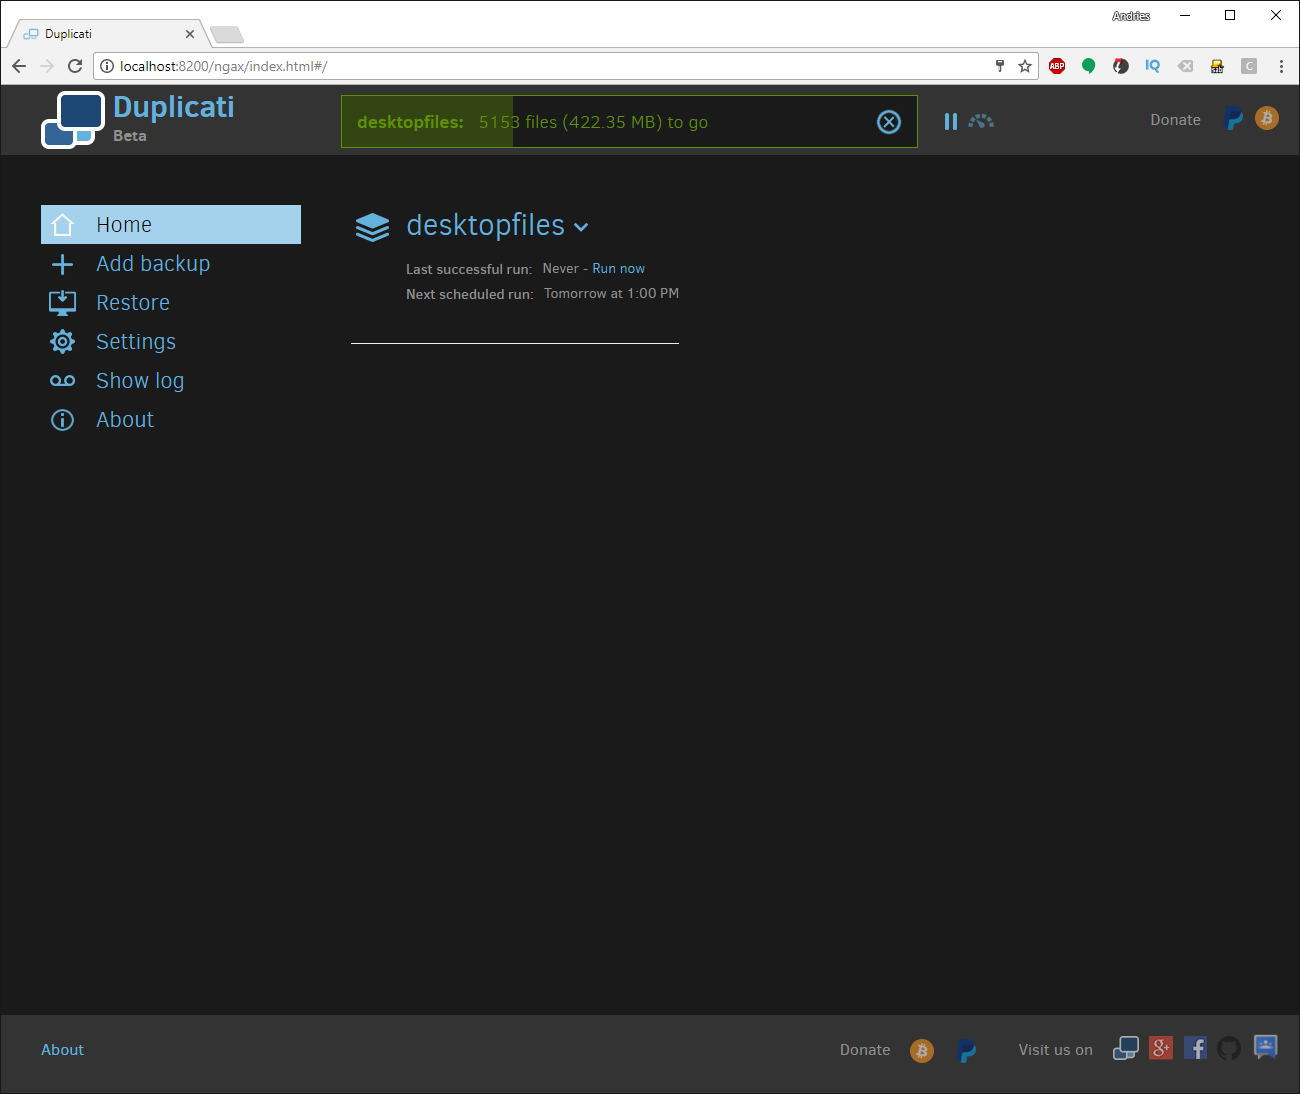](http://blog.quindorian.org/wp-content/uploads/2017/08/20.png)Ifallwentcorrectly,abackupshouldberunning,youcanfollowthestatusinreal-timeinthetopbar.[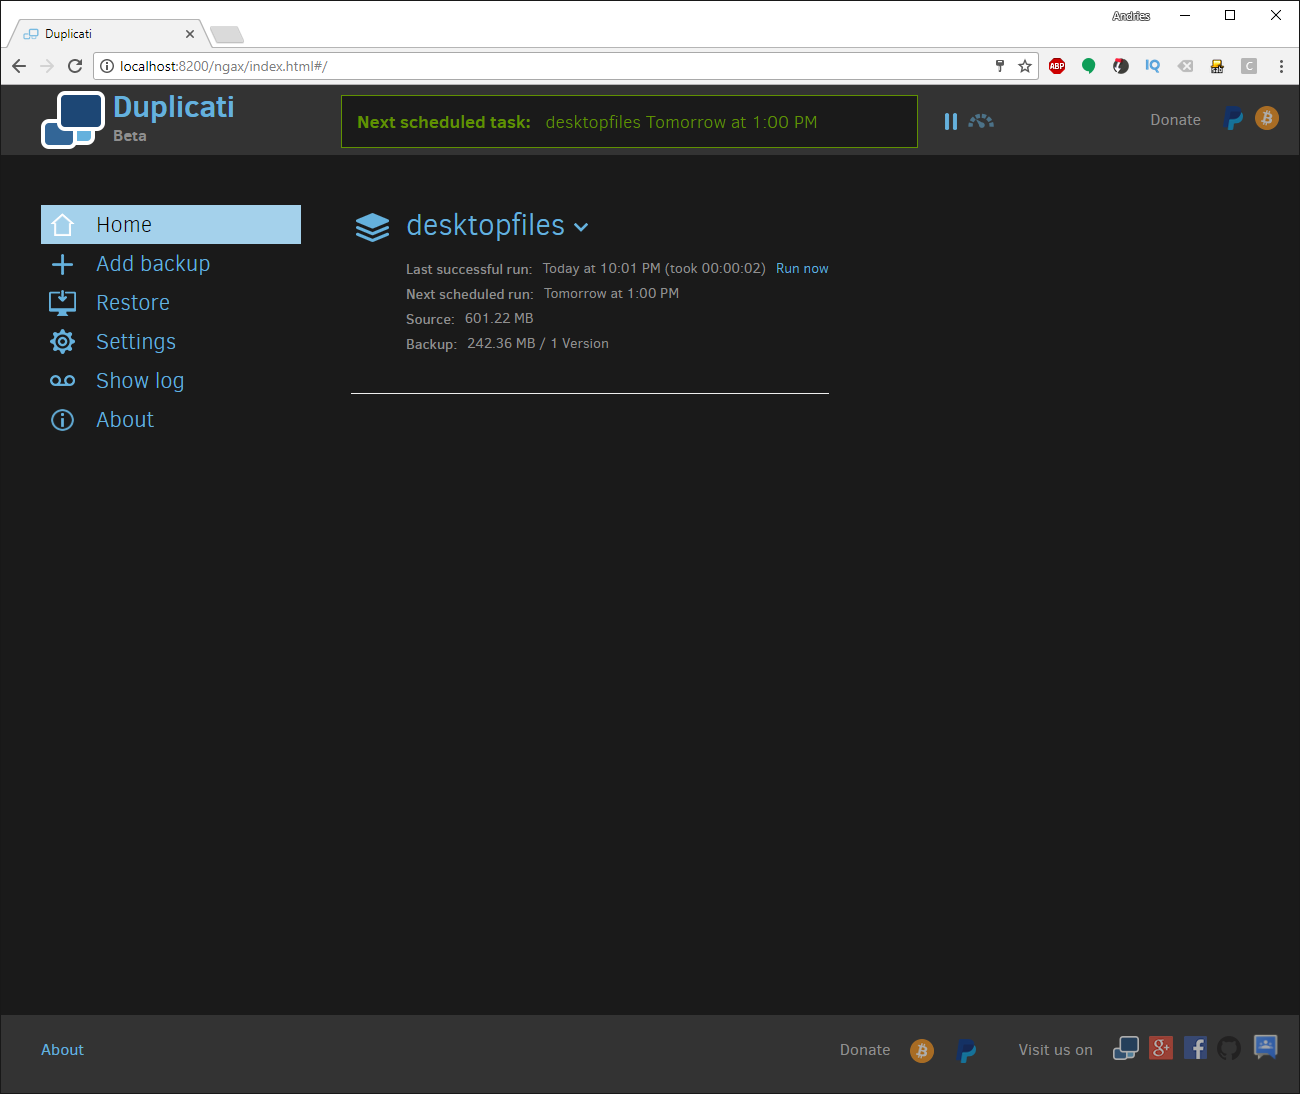](http://blog.quindorian.org/wp-content/uploads/2017/08/21.png)Andthat’sit,yourfirstbackuphasbeenmade.Compressionanddeduplicationalsoseemstobedoingit’sworkquitewellonmyselectedfiles,storingmy601MBinsideof242MB!Thefirstbackupwillalwaystakeconsiderablylongerthenfollowingbackups!LastwecanalsocheckinourMinioinstancetoseeifeverythingarrived.[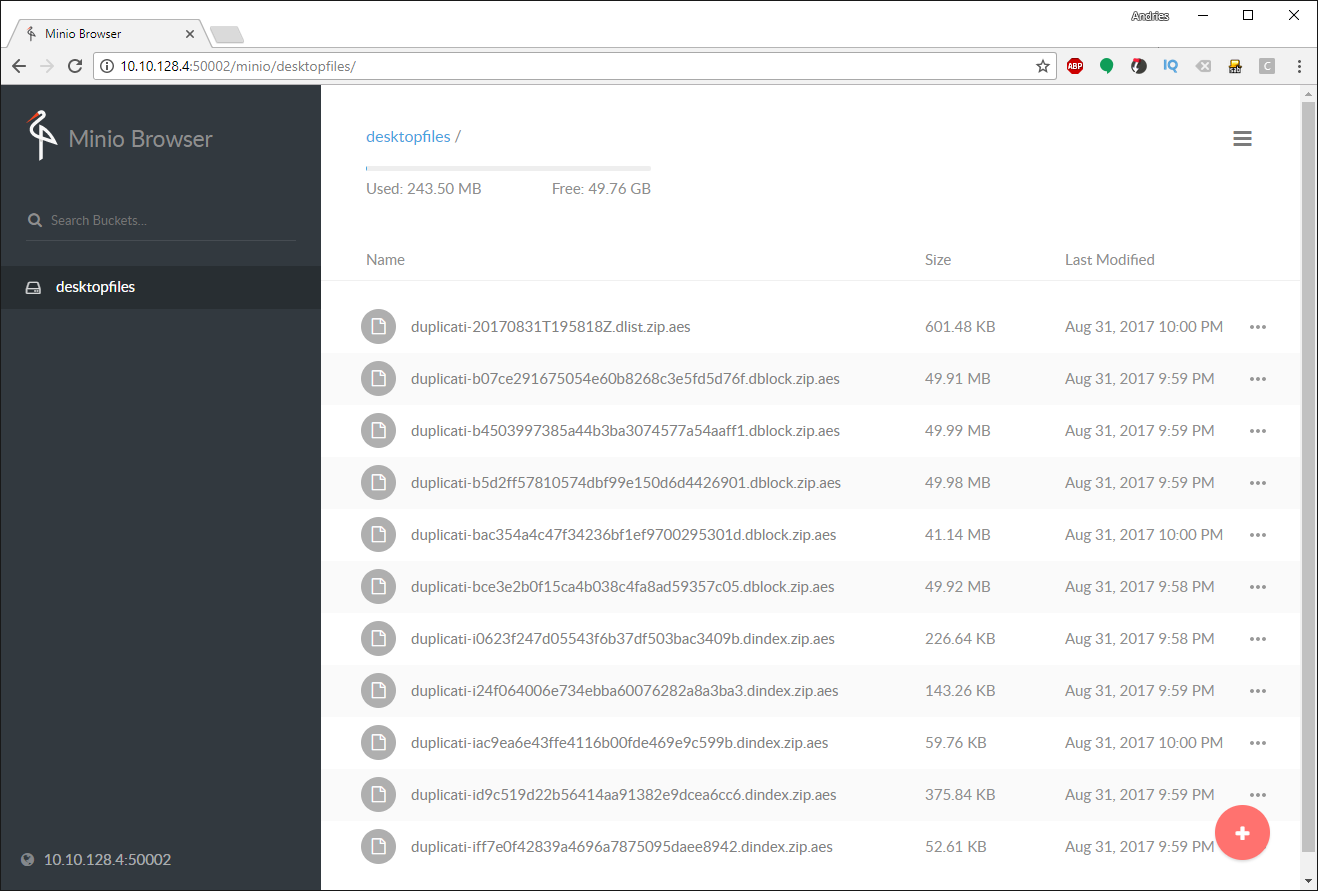](http://blog.quindorian.org/wp-content/uploads/2017/09/22.png)AllislookingwellinMinioandyoucanseethatbecauseoftheZFSquota’sthetenantseesit’sownfreespaceonly.Concludingremarks==================Andthatroundsupthebasicclientconfigurationpart!LaterIwillwriteaguideonhowtodorestoresandhowtosetsomemoreadvancedoptionssuchasreporting,etc.butwiththispostfinishedyoushouldnowhaveeverythingyouneedtobuildyourownmulti-tenant,multi-clientbackupsolution!Letmeknowwhatyouthinkinthecomments,andtipsandtricksarealsoalwayswelcome!Pleasefollowandlikeus:[](http://twitter.com/share)[](https://www.pinterest.com/pin/create/button/?url=&media=&description=)varaddthis_config={url:"http://blog.quindorian.org/2017/09/diy-cloud-backup-installing-and-configuring-a-client.html/",title:"DIY Cloud Backup: Installing and configuring a client"}[](#)
Leave DIY Cloud Backup: Installing and configuring a client to:
We have not curated any of quindor's posts yet. But you can encourage our curation team to review posts by visiting them regularly and by referring other readers. Because we give priority to frequently read content.



](https://i.ecency.com/p/2QhhddTGwaGzspwrvqhEag8wRstsYKedrim3ZcSfxKEyWXkNZhrq51k8HMa9r6x3sDQzqiA5urGjhLwGFYVL?format=match&mode=fit)