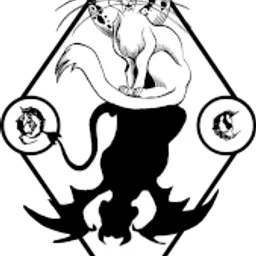
Dry point Etching Class
Kia ora koutou! Yesterday I participated in a day long etching class at the community art centre. Etching is something i have wanted to learn for quite some time but did not know where to start. I found much to my pleasure that it was pretty straightforward. For the dry point etching class, we used 1mm acrylic plates cut to A5 size. The acrylic is clear and coated in a protective film that is easily peeled off. You the take a drawing and tape it to the underside. The trick is to remember that the drawing will be reversed once printed, so you have to make sure that if positioning matters, print your drawing in reverse and then use it. The carving tools are pretty simple. You simply scratch into the acrylic surface. You can use an etching needle to create the main line art, or you can use any number of scouring tools like wire brushes or sandpaper to get interesting effects. Overall, I am thrilled that I was able to learn this technique and i hope to put it to further use. Cheers!
Leave Dry point Etching Class to:

Best Posts From Xyanthon
We have not curated any of xyanthon's posts yet. But you can encourage our curation team to review posts by visiting them regularly and by referring other readers. Because we give priority to frequently read content.