
Ability strategy analysis: Piercing
Introduction
This week we have a deep dive into the piercing ability. Its a nice ability as the time of writing i notice i do not use it often while there are

Ability
If Melee or Ranged attack damage is in excess of the target's Armor, the remainder will damage the target's Health.
Official ability information from splinterlands: List abilities
Synergies / strategy
Abilities benefits
 Inspire - all friendly units receive +1 melee attack. Combined with piercing, your melee units may be able to kill with a single strike.
 Rust - Reduces the armor of all enemy units. If your opponent is likely to stack armor heavily upon their units, piercing and rust will help you break through it.
 Protect - Give you own unit more armor, so enemy piercing units will have a harder time hurting you.
Ruleset benefits
 Armored Up - Pierce through your opponent's armor and attack their health directly.
 Heavy Hitters - All units gain knockout - double damage to stunned enemies. When coupled with piercing, this attack on a stunned unit could take them out of the battle.
 Melee Mayhem - The piercing units can now attack from any whare higher change that the piercing have a positive effect on the battle.
Be aware of ruleset
 Unprotected - No armor so the piercing will have no extra benefit.
Select / favorite
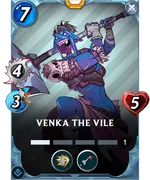
Mine piercing units:
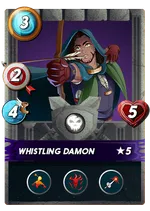

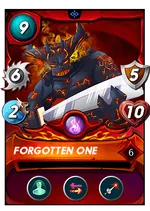
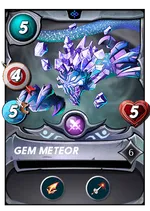
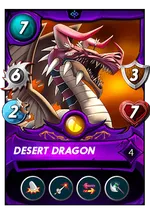
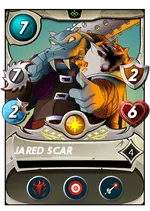
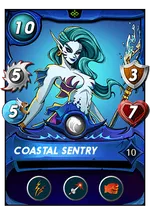
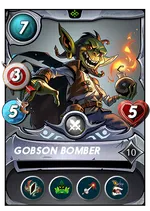
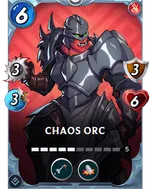
I also own this summoner that grants all your units piercing.
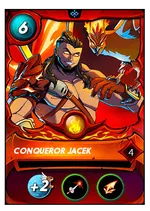
There are two units that i really like also because of their piercing. The choice was between Jared Scar and Coastal Sentry. Nice to see both are rewards cards you could have earned just by playing the game 😍. For me Coastal Sentry is just a bit better in more situations. Especially combined with Possibilus the Wise so its get the trample it can become a beast.
Some statistics of the card its my most used piercing unit.
Also with a minimal of 120 battle is my best performing piercing unit. Both reason to be my number one.
I look at the unit specific statistics you will see that because of the higher mana cost its more selected in the higher mana cap battles.
Then most paired with these summoners and units:
Strategy
Medium to high mana cap battle. I like the combination melee mayhem with piercing units. You can hide/protect the piercing units a bit. Especially because the coastal sentry has not that much health for 10 mana, its good to place it more in the back.
All splinters are available often i end up choosing water or dragon with water.
Rulesets
Close Range:
All unit gain the close range ability meaning that all ranged units now can also attack from the first position.

Melee Mayhem:
All melee unit can attack from any position

Target Practice:
All unit gain the snipe ability. Targets the first enemy Unit with Ranged, Magic, or no attack that is not in the first position with Ranged or magic attacks.
The Lineup
Summoner
| Card | Reason |
|---|---|
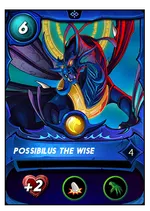 | I love this summoner in combination with coastal sentry it give the already strong unit trample |
Monsters Lineup
| #1 | #2 | #3 | #4 | #5 | #6 |
|---|---|---|---|---|---|
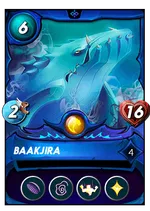 |  |  |  | |  |
Baakjira (lvl 4)
Very high health unit the will be granted with attack from the Kulu Mastermind. IMHO a very meta play at the moment. With the heal it often can hold up the front line. In this match most of the attack will be not on the first position. This because of the Target Practice.
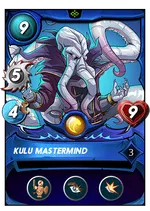
Kulu Mastermind (lvl 3)
Strong attack unit that will boost the first unit (Baakjira) and third unit (Noa the just) giving you lineup a extra 6 damage.
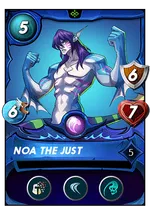
Noa the Just (lvl 5)
Nice high speed unit that has extra miss change with the dodge ability. If missed by the attacker it will do some return damage.
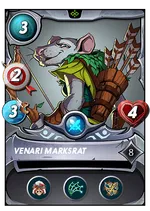
Venari Marksrat (lvl 8)
When this units dies it will boost the coastal sentry even more. Also if killed before Noa the just it will also boost the change that noa the just will increase the change its evades any attackers.
Coastal Sentry (lvl 10)
Star of this week.... Such a strong unit with 10 damage every turn and when boosted even 12 damage. Just hope that there are not many forcefield or the strategy can fail big time. The piercing and trample (from Possibilus the Wise) are extra beneficial. When the trample kicks in it can run into a trample streak with the double strike.
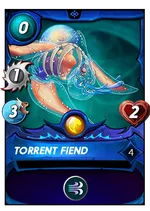
Torrent Fiend (lvl 4)
Just a meat shield that still can attack from this position because of the melee mayhem. Note that with Target practice sneak is still possible. Sneak before target practice see chart:
The Battle
Reference
Link to the battle:
Link to battle
Rounds
Start :
Lets analyze the battle lineup. Yodin 🤯 that is always an difficult battle.
I like my higher health unit. Not worries about the front just that the Venari Marksrat is not killed first.
Lets see if we can land some trample kills.
Round 1:
Actual the blast is not that bad it killing my Venari Marsrat first. Did not notice the the speed of my opponent i got 3 misses.
Round 2:
My opponent has higher speed so it can attack first. Killing my Vernari Marksrat and boosting its adjacent units.
That is how trample can hurt with the double strike 3 tramples in one round. giving me 3 extra attacks of total 16 extra damage. to be fair one was a miss but still 12 extra damage is huge in such a battle, causing me to lead in the match.
Round 3:
Again this show the importance of speed. I had two tramples but missed and even a last double strike was a miss. Not a problem because now a ranged unit it in the front so it cannot attack.
Round 4:
Victory!!
Conclusion
Just a battle that shows why i like Coastal Sentry that much. The piercing did not play a big role in this match. Often it can help to be efficient with you attack point none are going to waste because of some armor left on a unit or its repaired by 1.
This battle also demonstrate the combination of Coastal Sentry with tramples is an lethal combination.
Previous ability strategy posts
Below you will find references to the other ability strategies / analysis posts.
 Affliction
 Amplify
 Backfire
 Blast
Blast Blind
Blind Bloodlust
 Camouflage
 Conscript
 Close Range
 Cleanse
 Cripple
 Deathblow
 Demoralize
 Dispel
 Divine Shield
 Dodge
Dodge Double Strike
 Enrage
 Flying
 Forcefield
 Fury
Fury Giant Killer
 Halving
 Headwinds
 Heal
Heal Tank Heal
 Immunity
 Knock Out
 Last Stand
 Life Leech
 Magic Reflect
 Martyr
 Opportunity
 Oppress
 Phase
Phase Piercing
That's all for this week hope you enjoyed reading this ability strategy/analysis. See you all on the battlefield.
Do you also want to be part of this amazing play to earn game consider using my referral link.
Leave Ability strategy analysis: Piercing to:

Best Posts From Beaker
We have not curated any of beaker007's posts yet. But you can encourage our curation team to review posts by visiting them regularly and by referring other readers. Because we give priority to frequently read content.
More Posts From Beaker
- Season 186 - Splinterlands Season Report
- SPL-Stats: Small Bug Fix Update
- Spl-stats: Marketplace expansion with a brand new Skins page
- spl-stats: Boom!!! Combine Cards Has Arrived
- Spl-stats site update: Preparing for Modern Brackets with the new Buy Missing CC tool
- Small update for the #Splinterlands Land Manager!
- How Lucky Are You Really? Fortune Winners Arrive on spl-stats.com
- Land Site: Supporting Visions of Verico
- Land Manager Update, Buy and Stake Workers Arrives!
- Season 184 Splinterlands Report for @beaker007, @shinoumonk